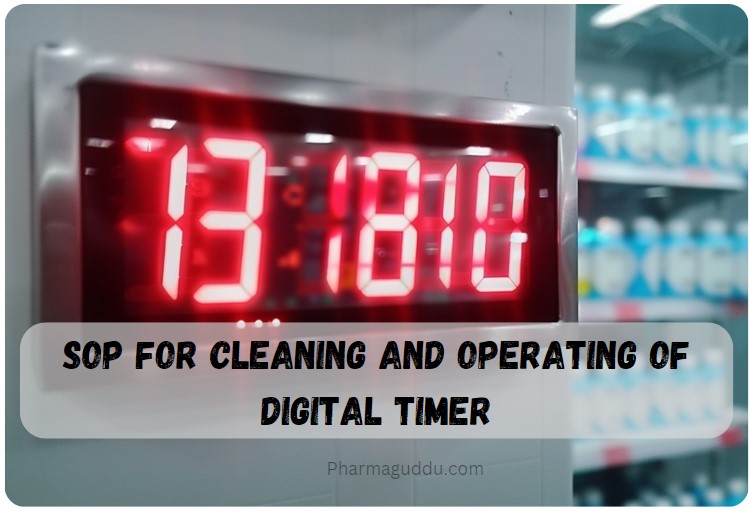
Purpose: To establish a standard operating procedure for cleaning and operating of Digital Timer.
Scope: This standard operating procedure is applicable for cleaning and operating of Digital Timer.

Responsibility:
- Head of Department is responsible for preparation and implementation of this procedure.
- Quality Assurance is responsible for review, approval, control, and release of this procedure.
- The department head is responsible for keeping instruments in good working condition.
- The maintenance head is responsible for maintaining the instrument.
Accountability:
- Quality Manager
Procedure:
Instrument Introduction:
- Instrument Name: Digital Timer
- Instrument ID Number: Mention the ID number as per your internal quality procedure.
- Instrument capacity: Mention capacity as per your instrument specification.
Cleaning:
- Clean the external surface of the Timer with the help of a lint-free dry cloth.
Operation of instrument:
Time/ Calendar Display Mode:
- Normal time display mode- Time display in hours.
- Calendar display in month, and date- holding down S3.
- Alarm time display – holding down S1.
- Alarm on – holding down S1 & S3.
- Chime on (all day-flag on/off (all day- flag off) – Keep S1 pressed and press S2 for ON/OFF selection.
Time and Calendar Setting:
- Press S2 three times.
- Select the flashing digit(s) to be set by pressing S1 and then advance figure by pressing S3 (fast advance by holding down S3 for more than 2 seconds). Second is followed by a minute, then hour, then followed by a date, then a month, and finally the day.
- Choose 12/24 hour cycle option while setting the normal time hour by shifting the figure to “A”/ “p” for 12-hour mode or “H” for a 24-hour clock.
- Press S2 once again to time display mode when the setting is finished.
Alarm Setting:
- Press S2 twice.
- To change the flashing figure, first select it using the S1 key, and advance by pressing S3 icon.
- Fast advance by holding down S3 for more than 2 seconds.
- Press S2 once again to time display mode when alarm setting is finished.
Stop -Watch Mode:
- This mode counts in 1/100th of a second interval for the first 30 minutes of timing (29 min. 59 sec.) and then in 1-second increment up to a maximum of 24 hours ( 23hrs. 59 min. 59 sec.)
- To activate stop-watch mode – press S2 once in time display mode.
- Start/ Stop – press S3 once.
- Reset- Press S1 while stop counting.
- Split (LAP) time- start counting by pressing S3.
- Press S1 to “freeze” elapsed time display while counting, and S1 again to resume timing.
- Stop counting by S3, and reset the stop-watch by S1.
- Press S2 to Normal mode.
Battery Replacement:
- When readout becomes dim or no longer displays, it is time to replace the battery- replace it with AG 13/LR44 or an equivalent battery type. (Battery door available at the backside.)
Precautions:
- Always keep the timer in a dry place and safe position.
Maintenance:
- Not applicable
Calibration:
- Minimum once in year
Records:
- Calibration records
Abbreviation:
- SOP: Standard operating procedure
- ID: Identification
Revision History:
| New introduction | Revision no. | Issue No. | Effective date | Next review due date |
Don’t miss this…
- SOP for Operation & Calibration of pH Meter
- SOP for Operation and Calibration of Dissolution Apparatus (Tester)
- SOP for Operation and cleaning of Tunnel sterilizer
- SOP for Liquid tanks, Pipelines, and Filling machine
- SOP for Operation and Calibration of Analytical Balance
- SOP on Pest & Rodent Control

Naresh Bhakar is the Founder and Author at Pharmaguddu.com, bringing his extensive expertise in the field of pharmaceuticals to readers worldwide. He has experience in Pharma manufacturing and has worked with top Pharmaceuticals. He has rich knowledge and provides valuable insights and data through his articles and content on Pharmaguddu.com. For further inquiries or collaborations, please don’t hesitate to reach out via email at [email protected].
