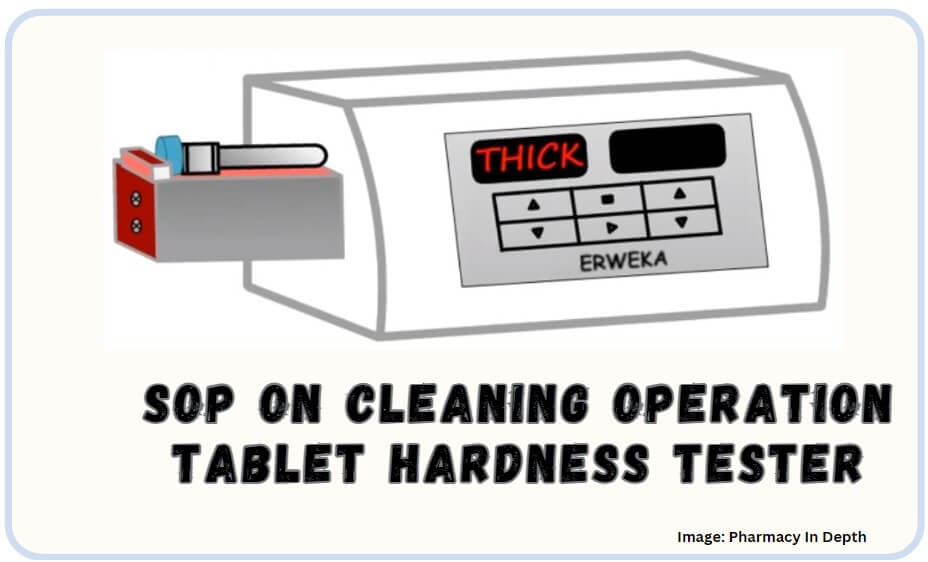
Learn About SOP on Hardness Tester | SOP Operation, cleaning, and Calibration of Hardness Tester in Pharmaceuticals.

1.0 Purpose: To lay down the Standard operating procedure for cleaning and operation of tablet Hardness Tester.
2.0 Scope: This SOP is an applicable tablet hardness tester in the pharmaceutical department.
3.0 Responsibility: 3.1 The QC/QA Officer is responsible for the implementation of this SOP.
3.2 The Head QC/QA is responsible for ensuring overall compliance with this SOP.
4.0 Precaution:
4.1 Do not scratch the scale surface.
4.2 Do not apply too much force and avoid any shocks to the hardness tester.
5.0 Procedure for cleaning and operation of tablet hardness tester:
5.1 Take out the hardness tester from a box.
5.2 Clean the hardness tester and its tip with a lint-free cloth to remove the dust.
5.3 Place one tablet at a time in between the plunger and cover of the hardness tester and turn the knob till the tablet is just held in a vertical position. In tablets other than a circular shape, e.g. for capsule shape tablets, hold them along their length in between the plunger and cover of the hardness tester.
5.4 Adjust the scale such that zero on the scale coincides with the pointer.
5.5 Hold the cover of the hardness tester in the palm so that broken tablet fragments will not splash.
5.6 Apply pressure on the tablet by turning the knob of the hardness tester in a clockwise direction till the tablet breaks.
5.7 Take the reading (kg/cm² ) where the pointer coincides with a numerical figure.
5.8 Dispose of the tested sample as per SOP on “Handling Scrap and Disposal in Pharmaceutical“.
5.9 Clean the hardness tester and its tip with a lint-free cloth to remove fragments.
5.10 Put the Hardness Tester in the Respective Box.
6.0 Calibration of Hardness Tester:
6.1 Use a standard weight in KG test weight for calibration.
6.2 Start with removing the Hardness Tester from the assembly.
6.3 Next, replace the fixed jaw with the calibration hook, tighten the device with the included screw, and turn on the Tester.
6.4 Ensure that the KG sign shows by pressing the UNIT button.
6.5 Reset the unit, press the “zero” button, and attach the standard weight and not down reading as per Annexure-I. The calibration result shall be complied with as per the acceptance limit.
6.6. At Last, Remove the Hook and Replace it with a Jaw.
7.0 Calibration Frequency:
Half-yearly by an outside party.
8.0 Abbreviation:
SOP: Standard Operating Procedure
QC: Quality Control
QA: Quality Assurance
Kg/cm²: Kilo gram per centimeter square
IPQC: In-process Quality Control
Related: Tablet Friability Test Calibration and Specification
Annexure-I
| Standard Wt. | Observed Wt. | Limit | Remark |
| Calibrated By Date: | Checked By Date: |

Panks Pamyal is a Author and Editor at Pharmaguddu.com. He Worked in Top Pharmaceuticals MNCs in India had a more then 10 years experience in Quality control department. He Delivering most valuable insights and knowledge through this website.
