GMP & Pharmaceutical Manufacturing Expert
✓ Reviewed by: Pankaj Sharma - Quality Control Specialist
Reviewed for Quality Control accuracy, laboratory practices, analytical methods, and technical relevance
📅 Last Updated: May 1, 2026
1.0 OBJECTIVE: To lay down the procedure for cleaning and operation of manufacturing tank (capacity –1000 ltrs).
2.0 SCOPE: This procedure is applicable for cleaning and operation of manufacturing tank (capacity –1000 ltrs) at Liquid department in Pharmaceuticals.
3.0 RESPONSIBILITY:
Operator, officer, executive – Production and QA department
Manager – Production and QA Department
4.0 DEFINITION(S)
NA
5.0 PROCEDURE
5.1 Cleaning
5.1.1 Checking Status Labeling:
Check the status “TO BE CLEANED” on equipment with details filled. If next product is the same as previous product (campaign production), follow batch-to-batch change over procedure. If next product is different from previous product, follow product-to-product change over procedure.
5.1.2 Batch-to-Batch change over procedure (Type A):
5.1.2.1 Remove “TO BE CLEANED” label and affix “UNDER CLEANING” label to the machine.
5.1.2.2 Switch OFF the electric supply from tank’s panel board.
5.1.2.3 Open outlet valves of tank and connect to drain point by flexible hose pipe.
5.1.2.4 Wash the inner surface of tank with purified water by connecting purified water supply to spray ball for five minutes or till there are no visible traces of the product.
5.1.2.5 Close the outlet valves after complete water is drained out.
5.1.2.6 Mop the tank’s outer surface with wet cloth followed by dry cloth.
5.1.2.7 Status labeling: Put ‘CLEANED‘ status label having Unit, Department, Equipment name, Cleaned by, Checked by Production Officer, Date and finally certified by Quality Assurance (QA).
5.1.2.8 Records: Record the details of cleaning in equipment usage sheet as per SOP No. PD/006
5.1.3 Product-to-product change over procedure (Type B):
This procedure is applicable if – There is a change in product or during campaign production, 7 batches have been processed, or equipment is taken for maintenance during processing and maintenance work continues for more than 24 hrs or maintenance work involves any part, which comes in direct contact with product.
5.1.3.1 Switch OFF the electric supply from tank’s panel board.
5.1.3.2 Open outlet valves of tank and connect to drain point by flexible hose pipe.
5.1.3.3 Wash the inner surface of tank with purified water by connecting purified water supply to spray ball for five minutes or till there are no visible traces of the product.
5.1.3.4 Open the triclover clamps and valves and clean them with purified water.
5.1.3.5 Refit the valves and SS process lines and connect the tank to pump with flexible tubing.
5.1.3.6 Take 150 liters of purified water in 1000 ltrs tank and raise the temperature to 60–65°C. Circulate the hot water through spray ball for 10 minutes and drain the water completely.
5.1.3.7 Close the outlet valves of tank.
5.1.3.8 Mop the tank’s outer surface with wet cloth followed by dry lint free cloth.
5.1.3.9 Inform the Q.A. to collect swab/rinse water sample if required.
5.1.3.10 Record the details of cleaning in equipment usage sheet as per SOP “Making Entries in Equipment Usage Log Book.“
5.1.3.11 Protection of clean equipment: Shrink wrap all the ports, outlet points, and tighten the manhole lid if the equipment is not planned for use within a day.
5.1.3.12 Status labeling: Put ‘CLEANED‘ status label having Unit, Department, Equipment name, Cleaned by, Checked by Production Officer, Date and finally certified by Quality Assurance (QA).
5.2 Set up:
5.2.1 Ensure that manufacturing tank (capacity –1000 liters) is cleaned.
5.2.2 After line clearance from Q.A. put “WORK IN PROGRESS” label on the machine.
5.2.3 Close the outlet valve of the tank and fix blank on outlet line.
5.2.4 Open the bottom drain valve followed by air vent valve of tank’s jacket and ensure that it is completely empty. Close air vent valve and drain valve of tank’s jacket.
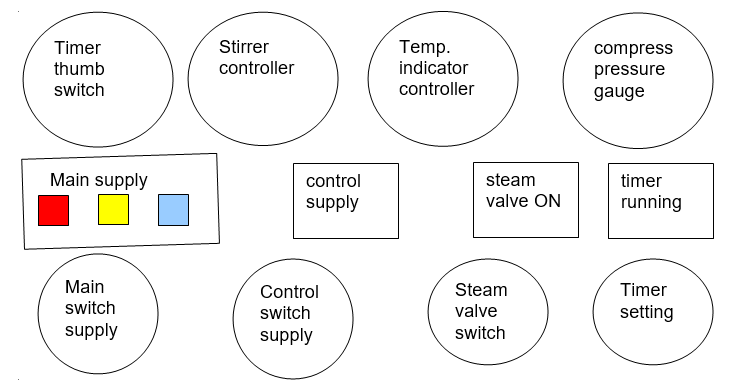
5.2.5 Switch ‘ON’ the electric supply from tank’s panel board.
5.2.6 Set the temperature if required by pressing at a time the SET POINT key and increasing/decreasing (( / () key.
5.2.7 Fix the required RPM of stirrer by rotating knob in clockwise or anticlockwise direction on VFD.
5.2.8 Switch ‘ON’ the compressed air valve from tank’s panel to regulate the steam supply to tank jacket through solenoid valve.
5.2.9 Ensure that steam trap valve No 01 and 02 is open in initial stage until condensed water is removed and then after close the valve No 01.
5.2.10
5.3 Operation:
5.3.1 In case manufacturing process requires steam heating of materials
5.3.1.1 Load the material into the tank and switch ON the stirrer from the main panel.
5.3.1.2 Open the steam inlet valve.
5.3.1.3 Monitor the jacket pressure of the tank from pressure gauge fitted on the triclover valve throughout the operation, pressure should not be more than 2.0 Kgm/cm2 and temperature 80°C. If the pressure/temperature exceeds the required limits, reduce the steam supply by adjusting steam inlet valve.
5.3.1.4 As soon as the required temperature reaches start further process.
5.3.1.5 Continue the stirring until batch complete.
5.3.1.6 After completion of process or required achieved temp.
5.3.1.7 Close the steam inlet valve.
5.3.1.8 Open the drain valve of tank’s jacket from the bottom. Ensure the complete drainage of steam from the tank’s jacket.
5.3.1.10 After the completion of operation, switch ‘OFF’ electric supply from panel board.
5.4 Affix the status of “TO BE CLEANED”.
5.5 Record the details of operation of tank in equipment usage record as per current version of SOP “Status Labeling in Pharmaceutical Department“.
5.6 NOTE:
5.6.1 Ensure water level in COOLING POT before start the stirrer.
5.6.2 Ensure air pressure in the unit is not less than 4 Kg/cm2.
6.0 ABBREVIATION(S)
SOP: Standard Operating Procedure
No. : Number
BMR: Batch Manufacturing Record
RPM: Revolution per minute
VFD: Variable frequency drive
7.0 REFERENCES
SOP No.: Status labeling in production department
SOP No.: Making entries in equipment usage and cleaning log sheet
8.0 ANNEXURE(S)
NA
9.0 DISTRIBUTION
9.1 Master copy: Quality Assurance
9.2 Controlled copy(s): Production department
9.3 Reference copy(s): Production department

Naresh Bhakar is the Founder and Author at Pharmaguddu.com, bringing his extensive expertise in the field of pharmaceuticals to readers worldwide. He has experience in Pharma manufacturing and has worked with top Pharmaceuticals. He has rich knowledge and provides valuable insights and data through his articles and content on Pharmaguddu.com. For further inquiries or collaborations, please don’t hesitate to reach out via email at [email protected].