
GMP & Pharmaceutical Manufacturing Expert
✓ Reviewed by: Pankaj Sharma - Quality Control Specialist
Reviewed for Quality Control accuracy, laboratory practices, analytical methods, and technical relevance
📅 Last Updated: August 15, 2026
Even a well-maintained colloidal mill experiences recurring issues that lead to malfunction eventually, and usually, there are only several common causes for that: the gap drift, rotor/stator wear, improper feed rate, or a faulty mechanical seal. Moreover, preventing the issues from arising is significantly simpler and less resource-consuming than addressing them after they occur. For example, if your quality control discovers large particles during an inspection, you will have to conduct an in-process investigation, whereas a machine operator could have simply adjusted the machine to avoid such a problem. The following cases include the most common colloidal mill issues that may arise in the workshop, along with the primary steps that need to be taken to prevent them or stop them if they occur.
Related Topic: Colloidal Mill; Working and Principle
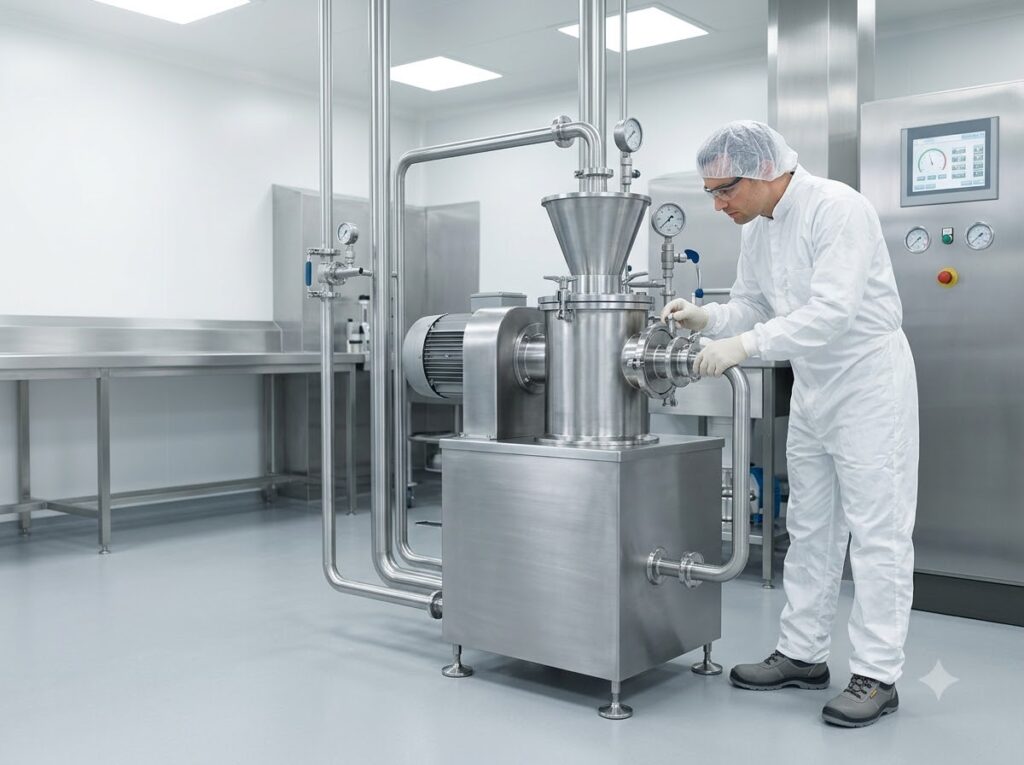
Colloidal mill: Common issues and Preventive action:
Larger particles than expected
Potential reasons:
- Gap too wide
- Rotor/stator gap increased due to wear
- Not enough passes/recirculation
- Too big of a feed rate, resulting in decreased shear exposure time
Recommended actions:
- Reset the desired clearance and ensure it is properly set
- Check for rotor/stator wear, change if clearance is too wide
- Increase the number of recirculation passes
- Decrease the feed rate to increase exposure time to shear forces
Too much heat generated during milling
Potential reasons:
- Too narrow clearance for the product viscosity
- Cooling jacket is not operating properly or lacks sufficient capacity
- Too long of a process duration
- Milling speed is set too high
Recommended actions:
- Select the maximum allowable gap according to the product viscosity
- Check the cooling jacket operation
- Shorten the batch processing time or add intermediate cooling steps if there is no option to change the processing time
- Decrease the rotor speed if acceptable according to the particle size requirements
Leakage through mechanical seal
Potential reasons:
- Mechanical seal is worn out or damaged
- Mechanical seal was not installed properly during maintenance
- High pressure differential across the mechanical seal
- The material of the mechanical seal is not compatible with the process media, causing accelerated wear
Recommended actions:
- Replace the mechanical seal with the one recommended by the manufacturer
- Ensure that the mechanical seal is installed properly and tightened to the recommended torque during maintenance
- Check if there are any restrictions downstream that cause high pressure differential across the seal
- Consider using a mechanical seal made of a more wear-resistant material in case of abrasive products
High motor load / tripping
Potential reasons:
- Too narrow gap
- Product viscosity is too high for the equipment specifications
- Feed rate is too high
- Bearing wear causing increased load
Recommended actions:
- Increase the gap clearance to the maximum allowable value
- Check if the product viscosity is within the equipment’s processing limits
- Decrease the feed rate
- Inspect and maintain the bearings
Formation of air bubbles / foaming
Potential reasons:
- Air getting sucked in with the product feed
- Foaming due to surfactants in the formulation
- Low level in the feed hopper resulting in air being sucked in with the product
- Speed is too high causing foaming for the given formulation
Recommended actions:
- Maintain an adequate level in the feed hopper to prevent air from being sucked in
- Consider using a vacuum to feed the colloidal mill or add an additional de-aeration step
- Reduce the rotor speed if acceptable for the given formulation
- Discuss formulation optimization options with the formulation team to address the surfactant-related foaming
Inconsistent particle size between batches
Potential reasons:
- Incorrect or changing rotor/stator clearance between batches
- Rotor/stator wear causing changes in the clearance
- Different particle size distributions of the feedstock between batches
- Variations in the operator technique during feeding or milling
Recommended actions:
- Make sure the rotor/stator clearance is set correctly and consistently before each batch
- Monitor the wear of the rotor/stator and have a maintenance schedule to replace them when necessary
- Ensure consistent quality of the feedstock going into the colloidal mill
- Establish proper standard operating procedures for the operators and provide training to ensure consistency between shifts
Unusual noises during milling
Potential reasons:
- Rotor and stator touching due to incorrect clearance
- Wear or damage to the bearings
- Foreign objects caught in the rotor/stator assembly
- Loose mounting or coupling causing vibration
Recommended actions:
- Stop the machine and check the clearance between the rotor and stator
- Inspect the bearings for wear or damage and replace them if necessary
- Check the inside of the rotor/stator assembly for any foreign objects before restarting the machine
- Tighten any loose mounting hardware or replace damaged parts if needed
Finding foreign material after cleaning validation
Potential reasons:
- Traces of the processed material remaining in the rotor/stator gap or crevices
- Inadequate cleaning procedures in hard-to-reach areas
- Insufficient wash solution efficacy against the processed material
- Inadequate rinsing after cleaning
Recommended actions:
- Disassemble the rotor/stator assembly if possible to access hard-to-clean areas during maintenance
- Revise the cleaning validation protocol based on the swab or rinse test results
- Consider using a different wash solution that is more effective against the material being processed
- Ensure thorough rinsing after cleaning and consider using conductivity or TOC testing to confirm the absence of contaminants
Product discoloration after milling
Potential reasons:
- Excess heating during the milling process
- Product degradation from prolonged residence time or too many milling passes
- Degradation of heat- or shear-sensitive API due to milling forces
- Contamination from previous batch residue
Recommended actions:
- Reduce the overall process time to minimize heating of the material
- Optimize the number of passes/recirculation to meet the desired particle size without excessive shear exposure
- Consult with the formulation team to assess the impact of milling on heat- or shear-sensitive APIs and discuss alternative processing methods if needed
- Ensure proper cleaning validation to prevent cross-contamination between batches
Expert Tips
Tip 1: When analyzing the run current of a dispersed system, make sure you are not only focussing on the start up current. A slow increase of current during the process indicates that the gap between rotor and stator is closing due to either wear or product consistency increase during cooling.
Tip #2: If you see a progressive increase of particle size over multiple process lots (no change in process), it is more likely a rotor/stator issue than a change in the formulation.
Tip 3: For heat sensitive materials consider dividing a long process into smaller repeated cycles of milling and cooling instead of trying to reach the targeted particle size in one continuous process step
Tip 4: Always try to open the rotor/stator assembly when doing cleaning validation activities. Swabbing tests on a closed assembly will rarely reflect the reality of where product can accumulate during a process.
Tip 5: Make sure that the feed hopper is kept full during the process. This is essential tip to reduce air and foaming in the mix.
Tip 6: Always try to keep the adjustment of the gap between rotor and stator calibrated on a regular basis. The drift of this adjustment is often not apparent from batch to batch.

Naresh Bhakar is the Founder and Author at Pharmaguddu.com, bringing his extensive expertise in the field of pharmaceuticals to readers worldwide. He has experience in Pharma manufacturing and has worked with top Pharmaceuticals. He has rich knowledge and provides valuable insights and data through his articles and content on Pharmaguddu.com. For further inquiries or collaborations, please don’t hesitate to reach out via email at [email protected].